1. Purpose & Scope
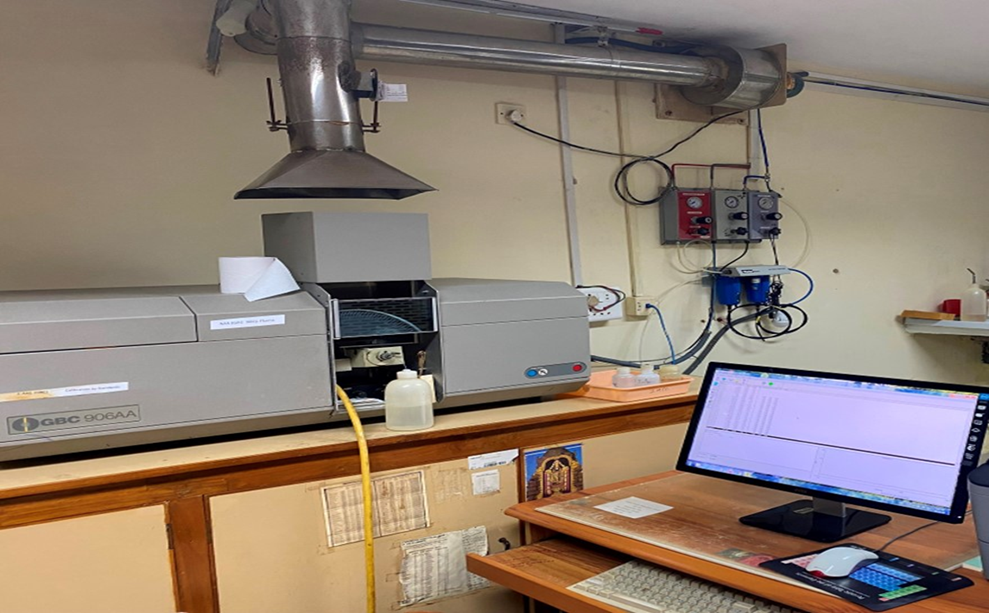
The procedure outlines for the operation, calibration, sample analysis, data recording, and shutdown of the GBC 906 Atomic Absorption Spectrophotometer (AAS) using the air-acetylene flame technique for the determination of metal elements concentration in a given sample such as Iron (Fe), Copper (Cu), Manganese (Mn), and Zinc (Zn).
2.Pre-Start & System Setup
-
Power On: Switch on the UPS, computer system, and the AAS instrument. Open the GBC Avanta software in the PC. Navigate to File Menu click on New (a new file generated).
-
Gas Supply: Open the Acetylene gas cylinder and check the pressure. Release the gas via the panel valve.
-
Switch ON the exhaust/fume hood system and the Air Compressor. Ensure the air pressure is at the marked/required level.
3. Method Selection & Lamp Parameters
-
Software configuration:
-
Navigate to Method -> Click on Description -> Click on Element (Select the element for analysis).
-
Lamp current and wavelength Settings: In the Method Menu, click on the Instrument section to verify and adjust the lamp current and wavelength according to the specific element.
| Element |
Lamp Current (mA) |
Wavelength (nm) |
| Zn |
5 |
213.9 |
| Cu |
8 |
324.7 |
| Mn |
5 |
279.5 |
| Fe |
7 |
248.3 |
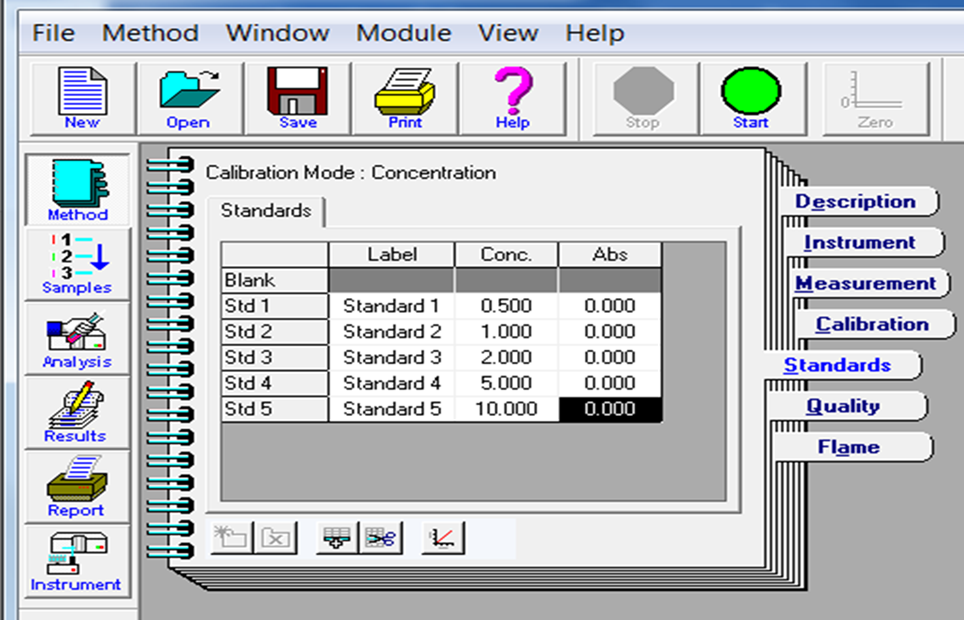
- Click on Standard section of Method Menu; Enter the standard concentration value (ppm) and absorbance (Abs) reading ZERO before calibration. Enter the standard from lower to higher concentration order
4. Flame Ignition & Optimization:
-
In the Method Menu -> Click on Flame -> Select Air-Acetylene flame for the element Fe, Cu, Mn, or Zn as the fuel gas in the flame type section and Air-Nitrous Oxide (N2O) gas for element K, Na Ca, & Mg.
-
Next, Click On Optimize option in Flame and check gas box status if indicates ready. Click on Ignite Flame and ignite the flame manually using an approved AAS lighter or matchbox.
5.Calibration & Sample Analysis:
-
Navigate to the Sample section and feed the calibration standard and sample no. in the software table.
-
Keep ready prepared Blank, Standards for instrument calibration and samples for analysis.
-
Click on Start (Green circle). The machine will prompt for the Blank and then the Standards.
-
Check the calibration graph in the software. If it is linear and acceptable, proceed to feed the samples.
-
Ensure the nebulizer pipe is cleaned with a tissue between every sample/standard.
-
Analyse a standard solution (5 ppm or 10 ppm) after every 20 samples to verify the instrument's correctness and accuracy.
6. Data Extraction & Shutdown Procedure:
-
Export Data: After completing sample analysis, go to the File menu. Right-click to print or go to File menu → Export to save the current data in a .txt format. Repeat for other elements.
-
Exit Flame: Click the Stop (Red circle) button to extinguish the flame.
-
Bleed Lines: Disconnect the gas supply by the gas panel and close the cylinders. Select the Bleed option by clicking on Method → Flame → Optimize → Click on Bleed Lines to safely remove excess gas from the pipes.
-
System Power Down: Turn off the Air Compressor, switch off the exhaust, exit the software, and shut down the computer.